To add a row of departmental or school social icons to an Article page, please follow the steps below:
Click +Add Section

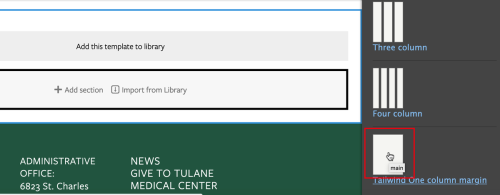
Click the column layout you want for this new page section.
Note: One Column blocks run full width on the screen while Tailwind One Column Margined has narrow margins
Under Configure Section:
Administrative Label -- optional name for the block to help a user identify blocks on the page (Example: Student Testimonial)
Style List – leave blank (no choice selected).
One exception would be if you'd like to use a Basic Block that has white text on a dark green background -- select Background Green option.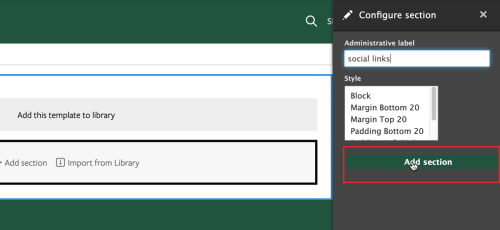
Click + Add block within your newly created section

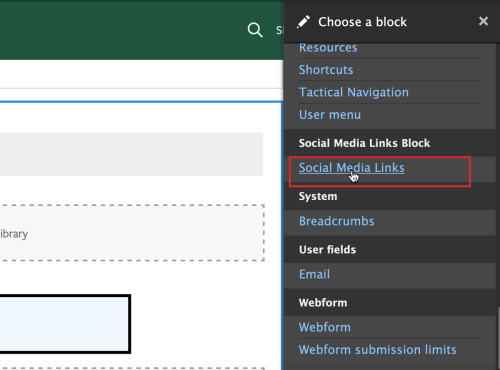
Scroll down through the block menu on the right and click Social Media Links. Note that the Social Media Links block is not under the "Create content block" option with the other custom blocks.
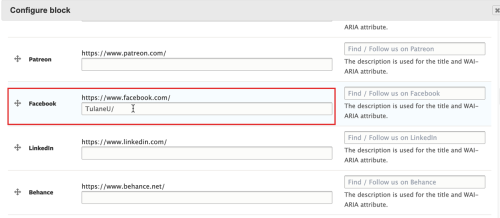
On the Configure Block page, paste in your social media handle (no slash in front) for the accounts you would like to display on the page.
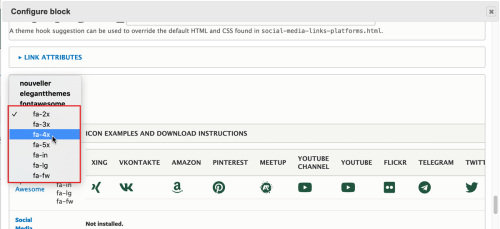
In the Icon Sets section of the page, select the icon size you want from the Icon Style dropdown menu.
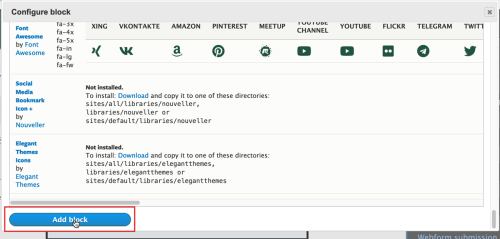
Click the blue Add Block button at bottom of the page.
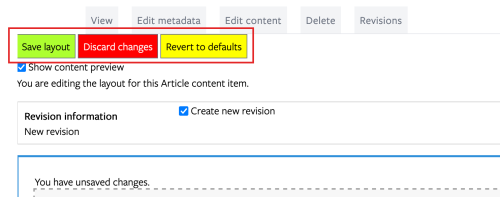
The social links will now appear in the block on your Article page. To save the page, scroll back to top of page and click the green Save Layout button.
